20 Cards
Here we will introduce Bootstrap cards, a content component that has a ton of options to display a wide variety of content.
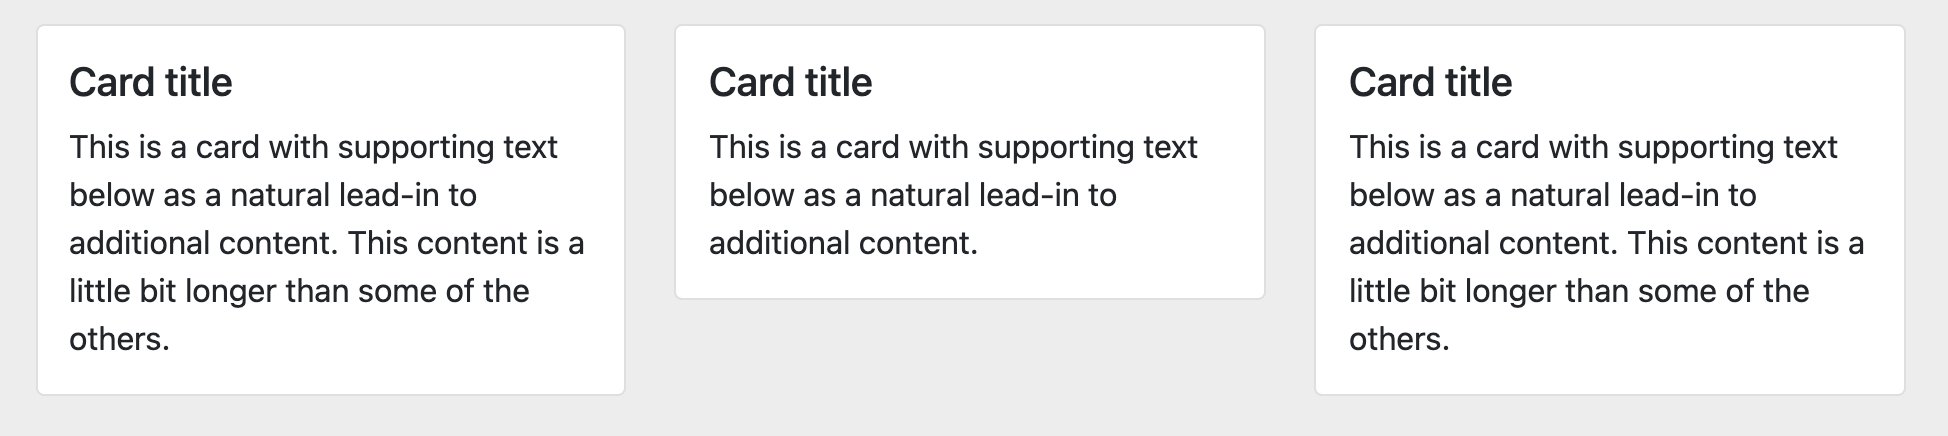
Our goal here is to build this part of our page:
20.1 The ever-versatile card
- Scan through the Bootstrap cards documentation and note all the different types of cards you can make. Compare the different styles and note which classes are used.
In a lot of these examples you’ll see style="width: 18rem;". Bootstrap uses it in their documentation here so the card won’t stretch across their page in their examples. Most of the time you don’t want this style and should delete it. We’ll use other ways to control width.
- In your index page after our “highlight” section, add a new div with the class “container”.
- In the docs, find the Grid cards example. Copy the first grid example there and put that inside your container div.
- Save and look at it. Because we are pulling from the template and there are parts we don’t need, we need to make some edits.
- Delete one of the four cards so there are only three. You should be able to figure out where they start and end by looking at the patterns in the code.
- Remove the
<img>line in each of the cards since we don’t need the photo.
20.2 Adjusting grid cards
With this setup, each card is inside a Bootstrap column. We can use a special Row columns class to set how many columns (and therefore how many cards) should show in a row before the columns/cards wrap into a new row.
The row-cols setting in the template says to display 1 card per row row-cols-1 until the medium width, which is changes to 2 cols per row with row-cols-md-2. The last style there g-4 sets the gutter width between the columns.
- Edit the row div to change the
mdrow setting to “3” instead of “2”. - Save and look how the page changes.
With this method, you can have any number of cards but you can set how many cards/columns you want at each width. It is very useful.
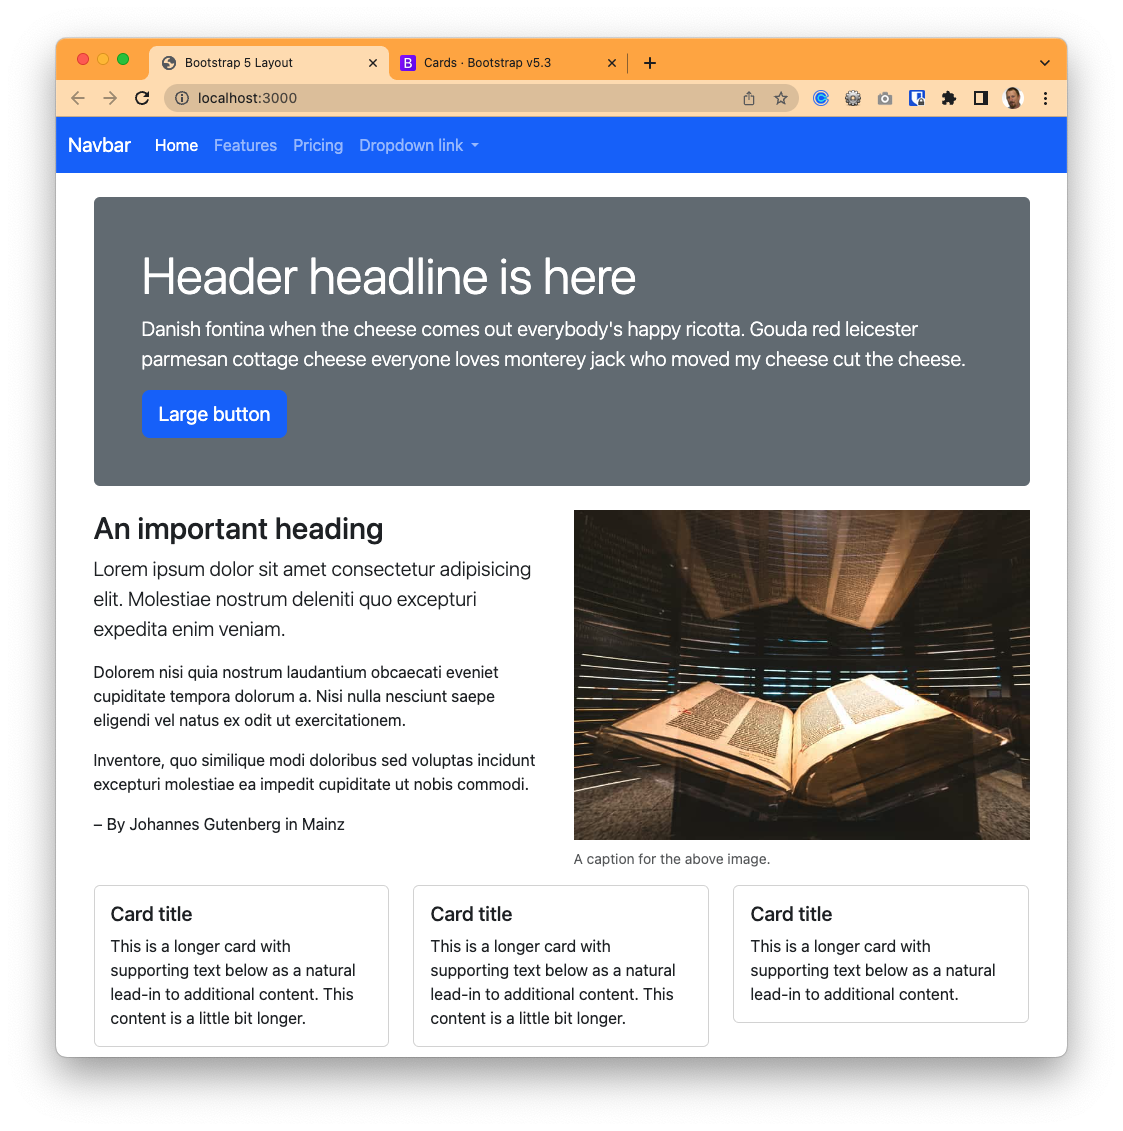
This is how your page should look now:
Next we’ll explore some customizations.