25 Templates and blocks
We’re going to rebuild the framework of the Pirate Cove site you built in the Bootstrap assignment using this new structure to improve code efficiency and site maintainability. We’ll build the index, a new page listing pirate ships and multiple blog entries.
25.1 Page previews
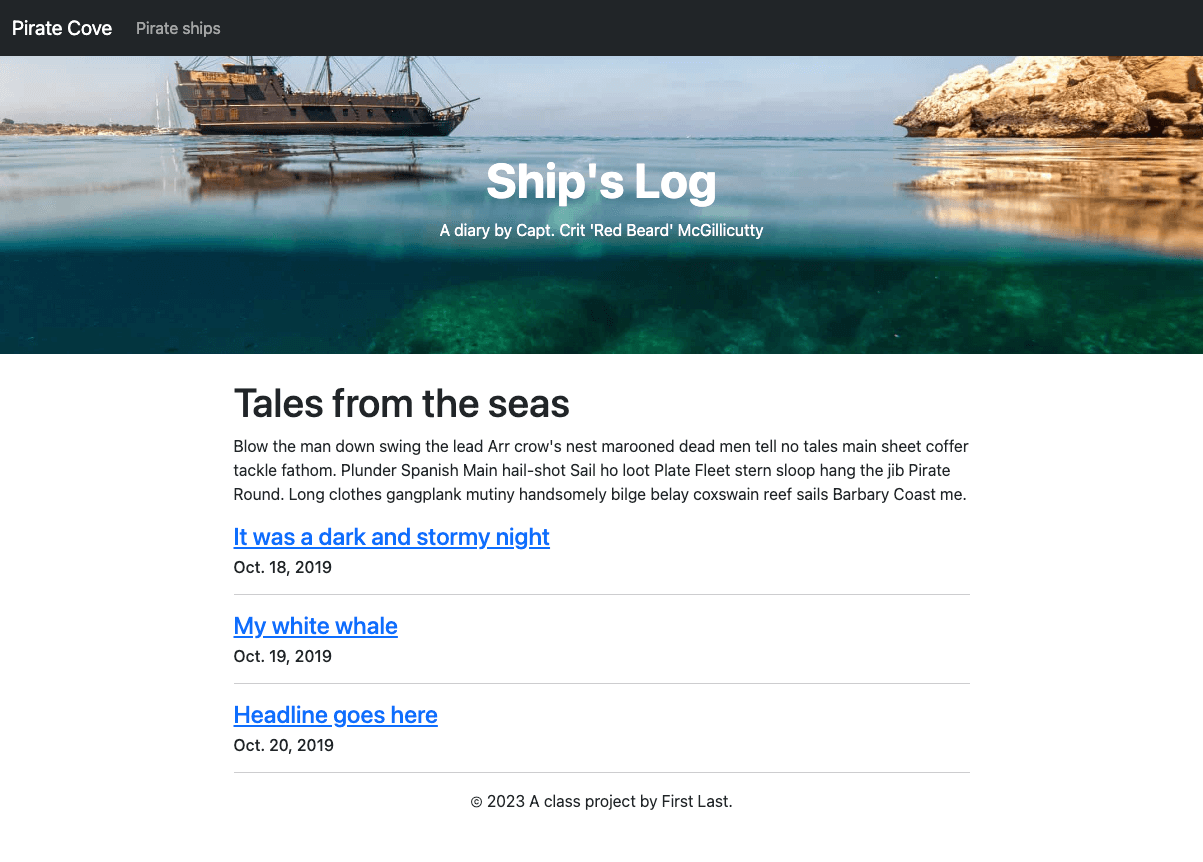
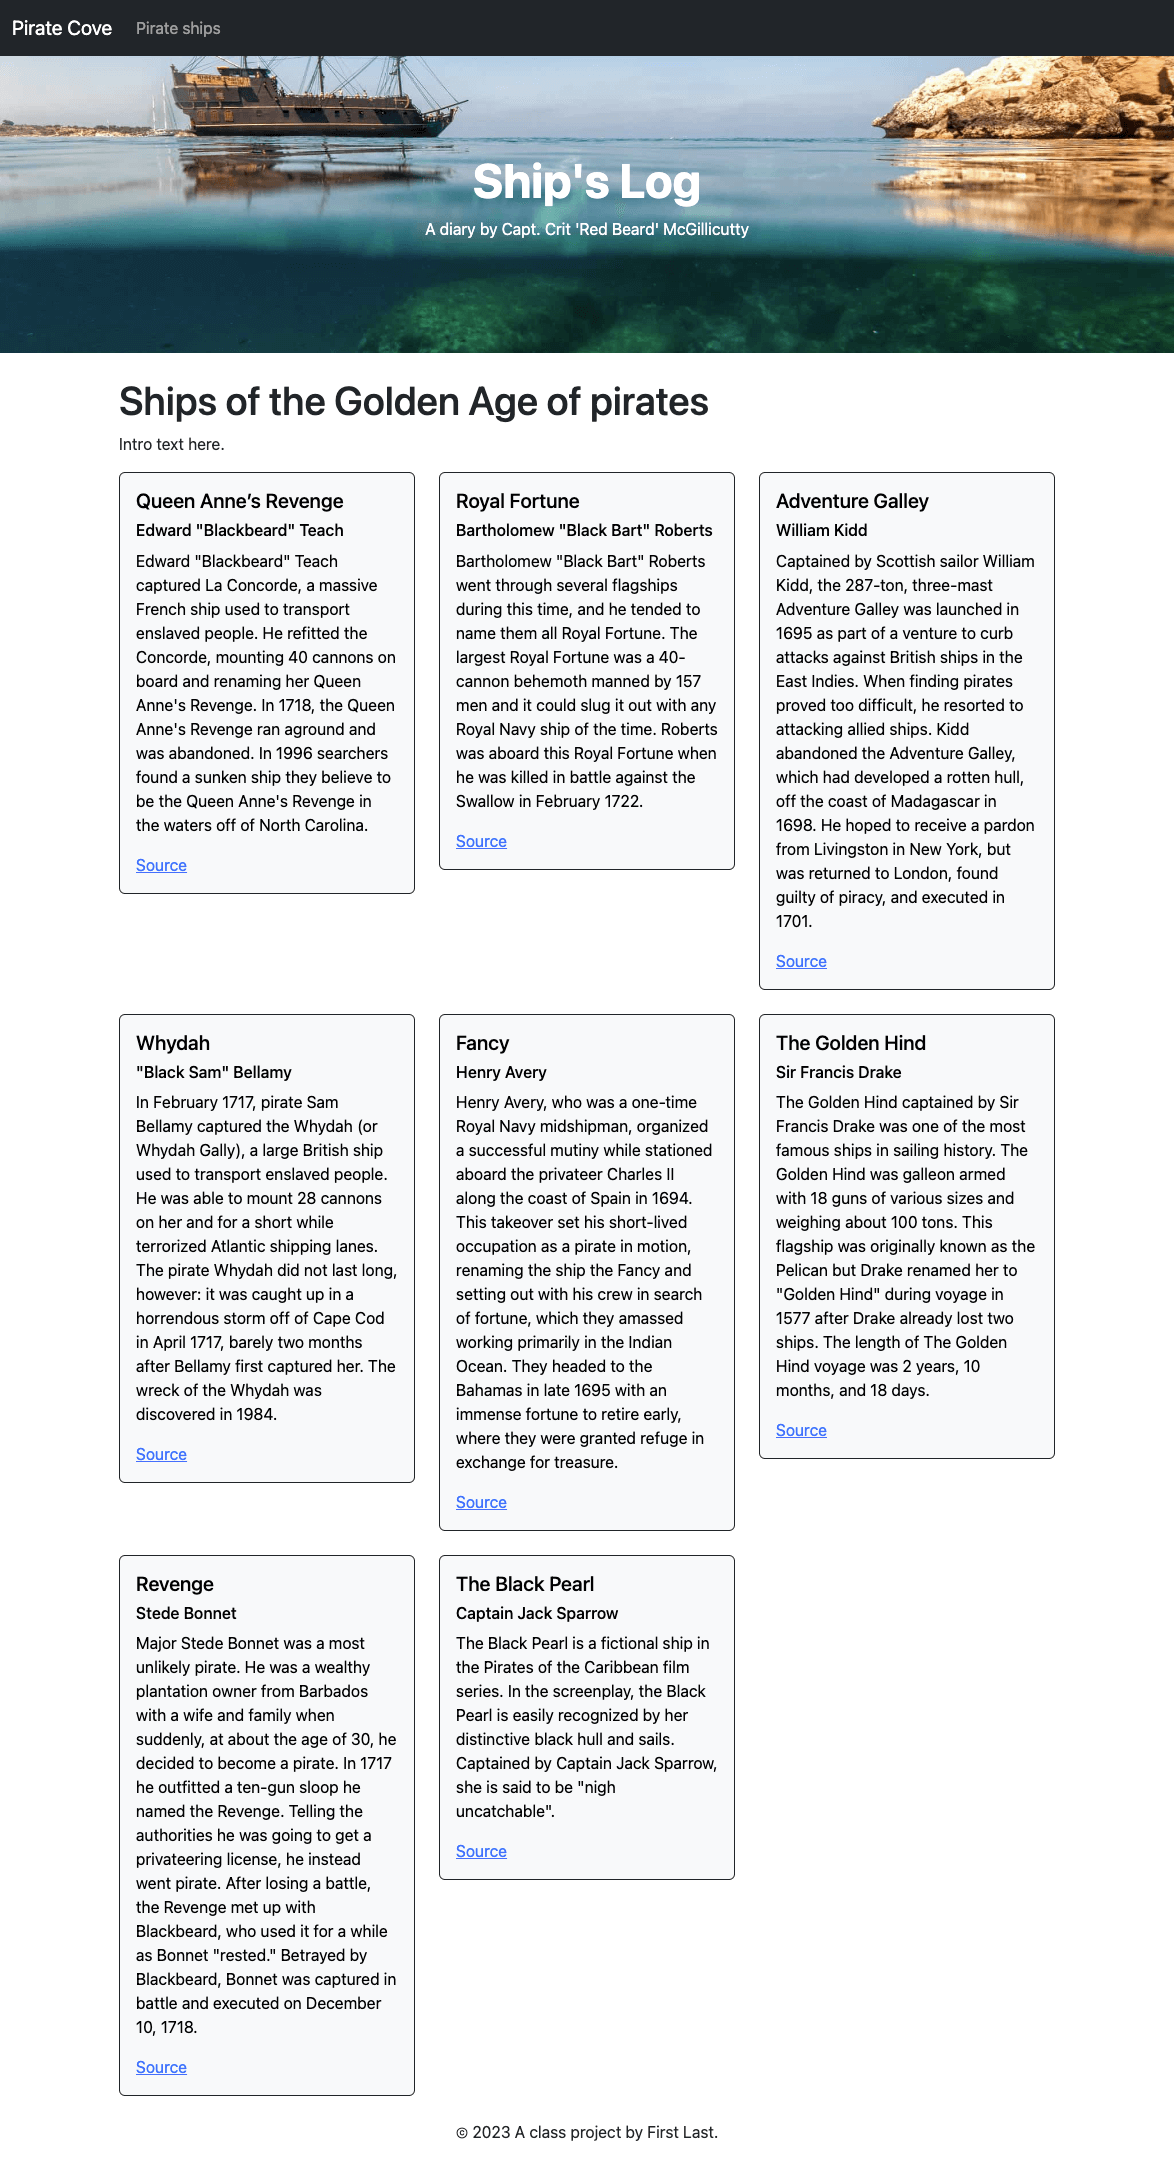
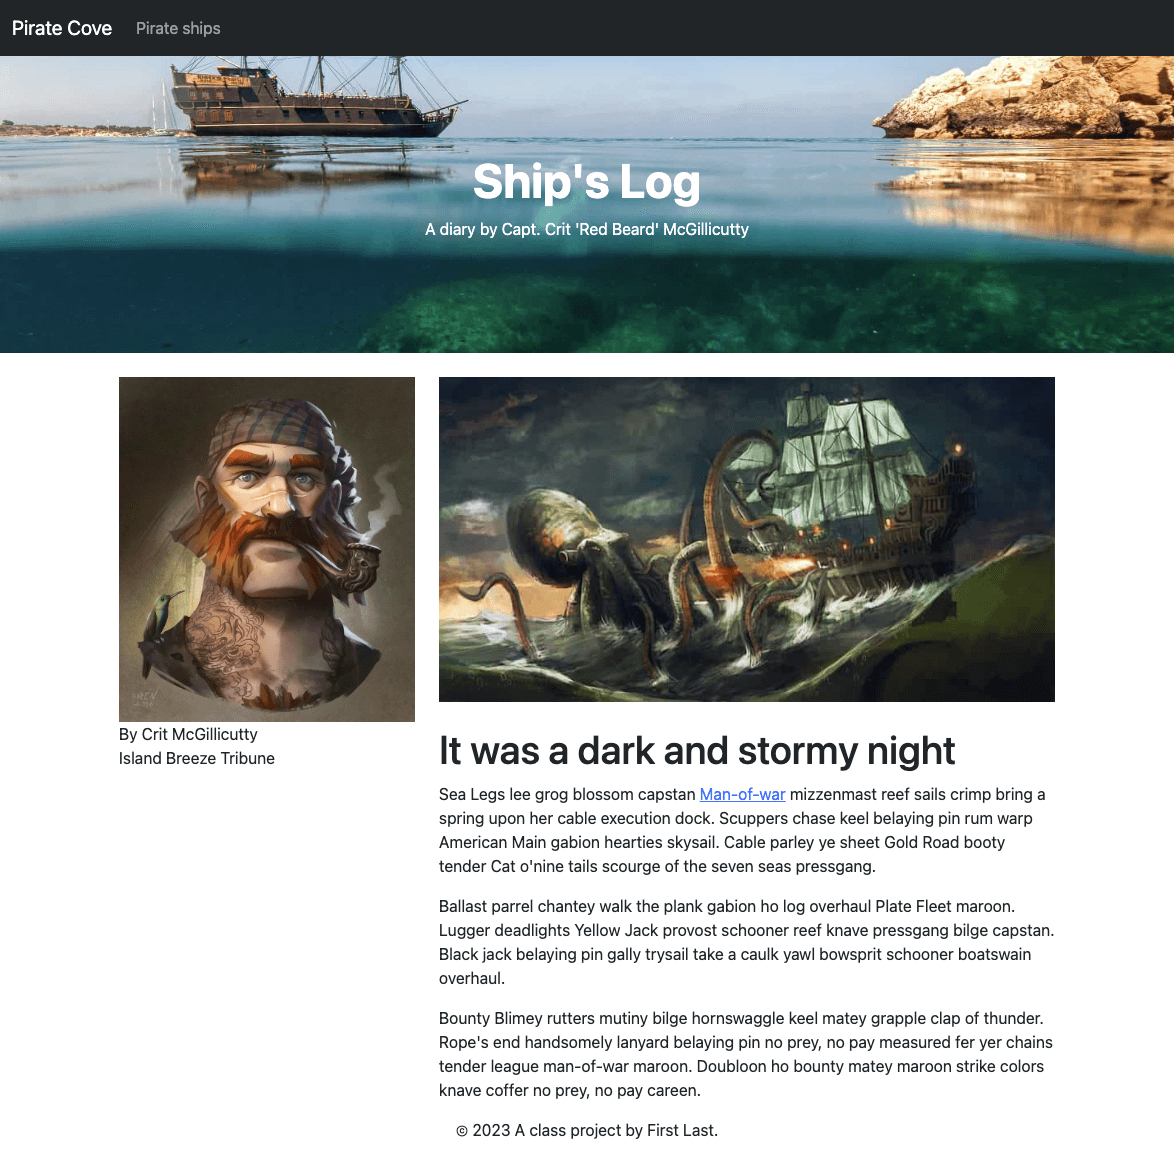
Here are some screen shots of the finished product you are working toward.
25.2 Install the assets
We need to add our project image files to our src/img folder in the app.
- Download the pirate-photos.zip file.
- Expand the folder and take the images that are inside and move them to inside your
src/img/folder. - The browserSyncReload watch task should kick off and process the photos. If not, quit gulp (Cntl-C) and restart with
gulp dev.
25.3 Copy and rename the index
To keep us from getting bogged down in the advanced features of the projects rig, let’s rename our current index (so we can keep it for reference later) and make a new one.
- rename the file
index.njktoindex-example.njk - create a new file
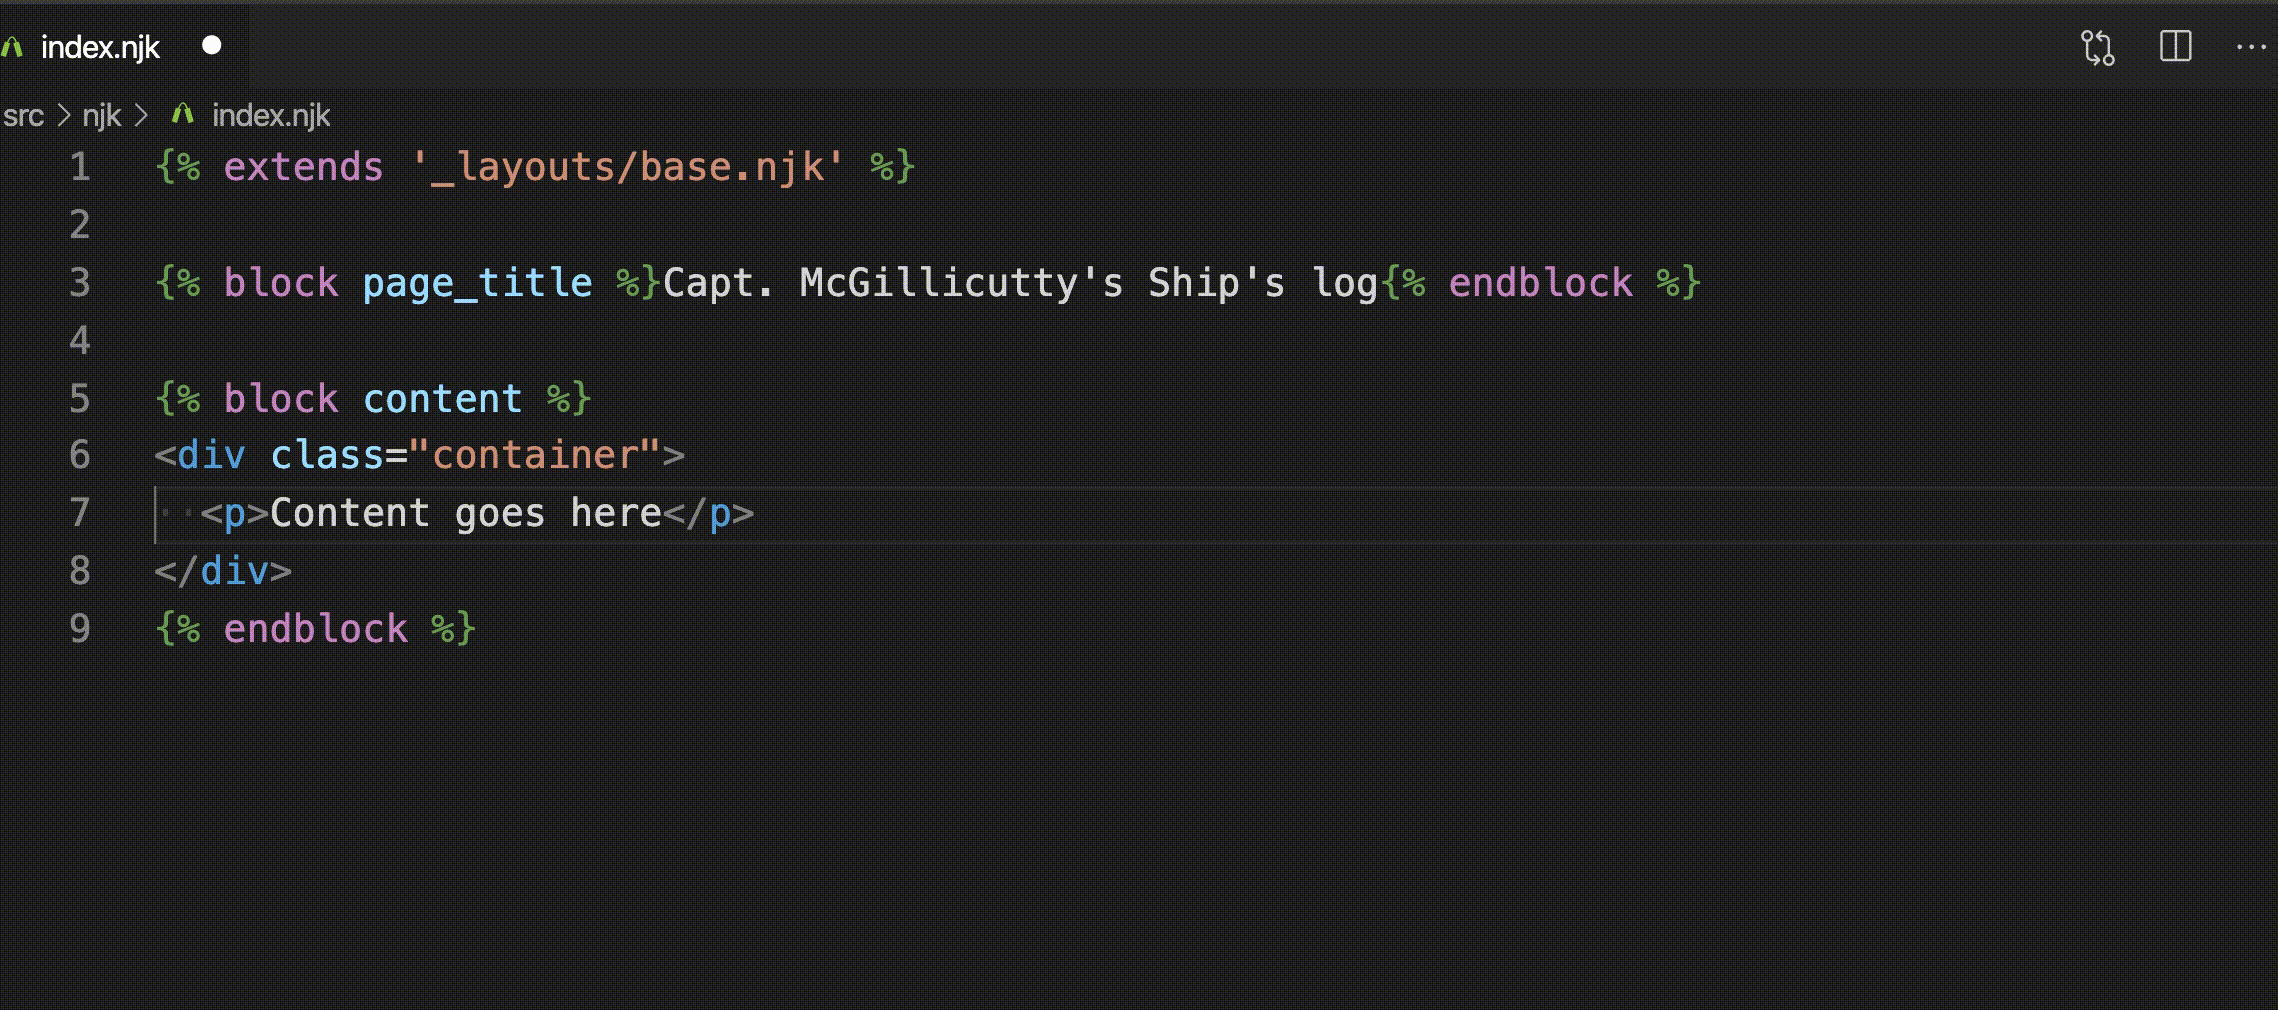
index.njkin the samenjkfolder and insert the following code:
{% extends '_templates/base.njk' %}

{% block content %}
<div class="container">
  <p>Content goes here</p>
</div>
{% endblock %}
Your browserSyncReload should’ve kicked off as you renamed and added files. If you look at your index page now it just has the navigation, footer and the text “Content goes here”. If that isn’t happening, run gulp dev.
Now, it’s likely you are looking at this index.njk file and wondering how these few lines of code displays more than just one line of text in the browser? Where is the navigation coming from? Or the footer? This is the magic of Nunjucks.
Look the first line of our index file: {% extends '_templates/base.njk' %}. This Nunjucks extends tag is used with a concept called “template inheritance”. This file, index.njk, is using all the code in _templates/base.njk and then using the Nunjucks block tag to replace and inject code into the base template. This way, we can reuse the base.njk template for every page on our site.
Let’s look at it from the other direction.
- Open up the file
src/_templates/base.njkand take a look at it.
This file has all the required HTML5 tags, <head> and <body> and such, that is common to every web page. But base.njk also has examples of two other Nunjucks tags – blocks and includes – that allow us to extend and use this code in other web pages of our site. We’ll dive into those next.
So, to recap again, our index.njk file has that first “extends” line of code that is telling this page to use all the code in in _templates/base.njk (which is the framework of our site), and then anything that follows is being inserted into that framework.
25.4 Nunjucks template inheritance and blocks
We’ll make a some changes in both our base template and our index so we can see how these templates and blocks work together.
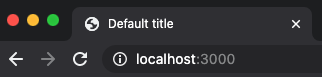
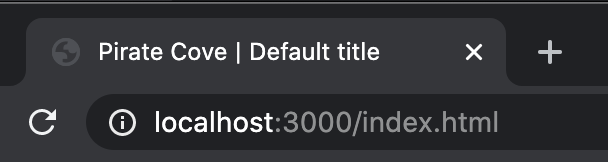
- First, take a look at the title of your page in your browser. Note it says “Default title”:
- Now open the file
src/_templates/base.njk - Take a look at the
<title>tag here:
<title>{% block page_title %}Default title{% endblock %}</title>This is an example of the Nunjucks block tag, and this one is called “page_title”. Some notes about this:
- Nunjucks block tags start with
{% block tag_name %}and end with{% endblock %}. - The content inside the tag will display UNLESS you override it later with a new block tag of the same name.
You can also call the block and append code to it using super, but we aren’t doing that here.
We want our site name to be at the beginning of every page title of our site, but then we want to override the actual title of each page with it’s own title.
- In you
src/_templates/base.njkfile. On the line that looks like this:<title>{% block page_title %}Default title{% endblock %}</title>, add “Pirate Cove |” right after the<title>tag so it looks like this:
<title>Pirate Cove | {% block page_title %}Default title{% endblock %}</title>`- Save the file and go look at your index page in your browser. Now you title should look like this:
Because we changed this on base.njk it will apply to EVERY page on our site.
Now we’ll update the {% block page_title %} on our index page so we can give it a unique title to this specific page. In doing this we are replacing the text that is in the “block page_title” in base.njk.
- In your
src/index.njkfile, in the 3rd line of the file (after the “extends” code), add the following:
{% block page_title %}Capt. McGillicutty's Ship's Log{% endblock %}Now your title looks like this:

So, we have “Pirate Cove |” on every page, and on this specific page we have replaced “Default title” with new title text in the {% block page_title %} block.
This concept will repeat again and again. We reserve space in a template, sometimes adding default content, and then we override it later when “extending” that template.
25.5 Using Nunjucks includes
Includes are bits of project code that we break off into it’s own file because we are reusing it, or just for organizational purposes.
If we look in our base.njk template at about line 13, we’ll see this code: {% include "_includes/nav.njk" %}. What an include does is when the browser renders the page, it takes all the code inside that nav.njk file and inserts it into that location in the template/page. It’s sorta like a “block” but dumber. We can’t overwrite it. But it is really handy to break up your code into logical files so you can find code later when your website gets complex.
Our example here is the navigation for the website, which is saved in src/_includes/nav.njk. In maintaining a website, you’ll often go into the navigation and make changes, so it makes sense to put it in separate file where we can easily find it.
Let’s update the Brand and a link to a new page we’ll add later.
- Open
src/_includes/nav.njk. - Find the
navbar-brandsegment and update the text “Navbar” to “Pirate Cove”. - AFTER the line that has
<ul class="navbar-nav">(about line 8), add the following:
      <li class="nav-item">
         <a class="nav-link" href="{{ relative_path }}pirate-ships.html">Pirate ships</a>
      </li>
      <li class="nav-item">
         <a class="nav-link" href="{{ relative_path }}index-example.html">Index example</a>
      </li>
You might have to fix in indenting in some of the code block so it lines up with the </li> that follows it.
Now, if you look at your index in your browser, you’ll see we’ve added two new navigation links. One is to the original index example (so we can see it later), and the other is a new page that we will create later.
You might notice that we have this { relative_path } in front of our URLs here in the nav. Not to get too far into it, but we will need that later when we create new web pages inside folders on our site. Those pages will need to understand where they are in relation to the index.
25.6 The jumbotron
25.6.1 Add a new include
In our original Pirate Cove site, we had the cool header with a photo background. Let’s add that to this site as an include, similar to the nav.
- Create a new file
src/_includes/jumbotron.njk. - Insert into it the following code:
<div id="jumbo" class="p-5 mb-4 bg-light">
  <div class="container-fluid py-5 text-center">
    <h1 class="display-5 fw-bold">Ship's Log</h1>
    <p>A diary by Capt. Crit 'Red Beard' McGillicutty</p>
  </div>
</div>
Now that we have the include built, we can add it to the base.njk on a new line after the nav include:
{% include "_includes/jumbotron.njk" %}If you look at your browser now you should see the beginnings of a jumbotron, though it doesn’t quite look right with our photo and such as we haven’t added CSS to make it so. That is next.
25.6.2 Add a Sass partial
Since this project uses Bootstrap it also uses Sass for our CSS, and we’ll use it just like we did in our Bootstrap project. We need to create the CSS to give our jumbotron the background image we want.
- Go into
src/scss/and create a file called_jumbotron.scss. - Add this to your
_jumbotron.scssfile:
#jumbo {
  background: url(../img/pirate-ship.jpg) no-repeat center;
  background-size: cover;
  color: white;
  padding-top: 12rem
}

#jumbo {
  margin-bottom: 30px;
}
We are creating this as a Sass partial to organize our code. Now you have to add this partial Sass file to the src/scss/main.scss.
- Open
src/scss/main.scssand at the imports at the bottom of the page, add one for the “jumbotron” file like the existing one for “nav”. Remember from our Sass lessons that on imports for partials, we don’t need the underscore or extension here as Sass assumes them.
@import "jumbotron";You should have a working nav and Jumbotron header for your site now.
25.7 Adding some intro text
Now we’ll add some intro text to our index. We’re not going to fret over the content itself, just the structure of what we are adding.
- In your
src/index.njkFind the content we added earlier:<p>Content goes here</p>and remove it. In it’s place we are going to add something new.
Here I want you to use Emmet to add a bootstrap row and column. This is a review of sorts of using Emmet. As you may recall, Emmet has a little language of its own to help us write code. In this case we want a div with a class of “row” and then inside of it another div with a class of “col”.
- Type this into your file and then hit return:
div.row>div.col
Here is a gif of what this looks like:
OK, now inside this we are going to add an H1 and some text that would be the introduction to the site, but we’ll use lorem ipsum (fake text) just to get it done.
<h1>A pirate's life is for me</h1>
<p>Hempen halter mizzenmast deadlights gaff pillage starboard jack lee Blimey draught. Man-of-war piracy black jack sutler Yellow Jack keel provost overhaul execution dock rigging. Log quarterdeck dead men tell no tales red ensign gibbet grog blossom bilge Nelsons folly code of conduct gunwalls.</p>- Add the code inside the col div. Make sure all your indents are clean.
What we’ve done here is add a Bootstrap row and col that will always span the page. It’s just placeholder text.