21 Customizing
If you look at Customize section of the Bootstrap documentation, you can see there a bunch of different ways you can customize your site, including:
- Modifying Bootstrap Sass variable settings
- Choosing or adding different Bootstrap styles
- Creating new custom styles
Since this is a Sass-based system, we’ll make all our CSS changes in our src/styles.scss file.
21.1 Modifying Bootstrap Sass variables
Most default styles in Bootstrap are built upon a set of variables to take advantage of that Sass feature. We can quickly make changes across our site based on resetting these variables.
For a full explanation you would need to read the Customize Sass documentation, but we’ll show the power of this here by changing our primary color and background color variables.
- Open your
src/scss/styles.scssfile and look through the comments at the top of the file that explain it. Some things have to be in a specific order. - After the variable examples shown there but before the
@importexample, add the following and then save the file:
$primary: #bf5700;
$body-bg: #ededed;
If you look at your page, all the blue stuff should now be burnt orange and the background should be grey. (#hookem).
21.2 Choosing different Bootstrap classes
OK, but now our Jumbotron header is kinda dark. Let’s change the background to white and the text to black by choosing different Bootstrap styles there.
- Find your header in your index code.
- In the class, replace both
bg-secondary text-whiteto justbg-white. Leave the spacing and border classes.
This changes the header background to white and returns the text to its default black. Using the utility styles can allow quick display changes.
We need to do something similar for the cards.
- Look in the documentation on cards at the Background and color section and find the “Light card title” example, then update your cards code to get that effect.
You should end up with white cards on the gray background of the page.
21.3 Updating an existing Bootstrap class
Let’s change the .lead line in our header to be a little lighter font weight.
We can accomplish this we adding a style rule that builds on the existing Lead typography class defined in Bootstrap. We do need to nest our rule so it only applies inside a header so we avoid affecting the other “lead” paragraph in our “highlight” section.
The rule we’ll use is a css property font-weight which as a value of “lighter” that defines thinner/lighter characters in text. The change is subtle, so as we write our rule we’ll change the text red to make sure our rule is working where we want it to, then we’ll remove it.
- In your
src/styles.scssfile near the bottom, after the comment about custom styles, add this and then save and view the result:
// header lead lighter
header {
  .lead {
    font-weight: lighter;
    color: red;
  }
}
Let’s describe what that does:
- The first line that starts with
//is a comment we can use in Sass. This let’s us leave notes as developers, but they will be removed when the code is compiled. - We use the Sass syntax to start with
headerto capture that element, and then nest within that to write a style on theleadclass. - The two rules are the
font-weight: lighter;and the color red.
- Once you viewed the result and made sure you’ve captured only the lead in the header, then remove the color style.
21.4 Write a new style
Next we’ll create our own style in CSS just like any normal HTML page.
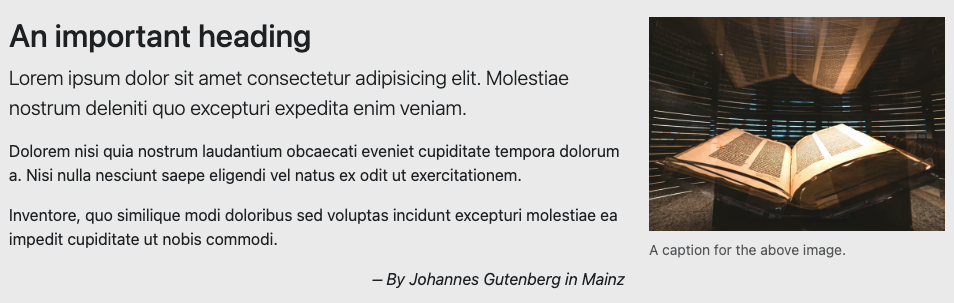
Within the middle section with the photo, let’s add a tagline as a final paragraph. We want it to be italic and flush right, and we want to build this as a new style so we can reuse in other places on our (fake) website.
- On the
<p>tag with the text “By Johannes Gutenberg”, add a class called “tagline”. - Go into your
styles.scssfile and add a style rule for.taglinethat sets the font-style to “italic” and text-align to “right”. This is just like writing any css style to a class, so I’ll let you figure it out.
It should end up looking like this:
21.6 Push your code to Github
- Use the git cycle to push all your changes to Github so I can see your progress.
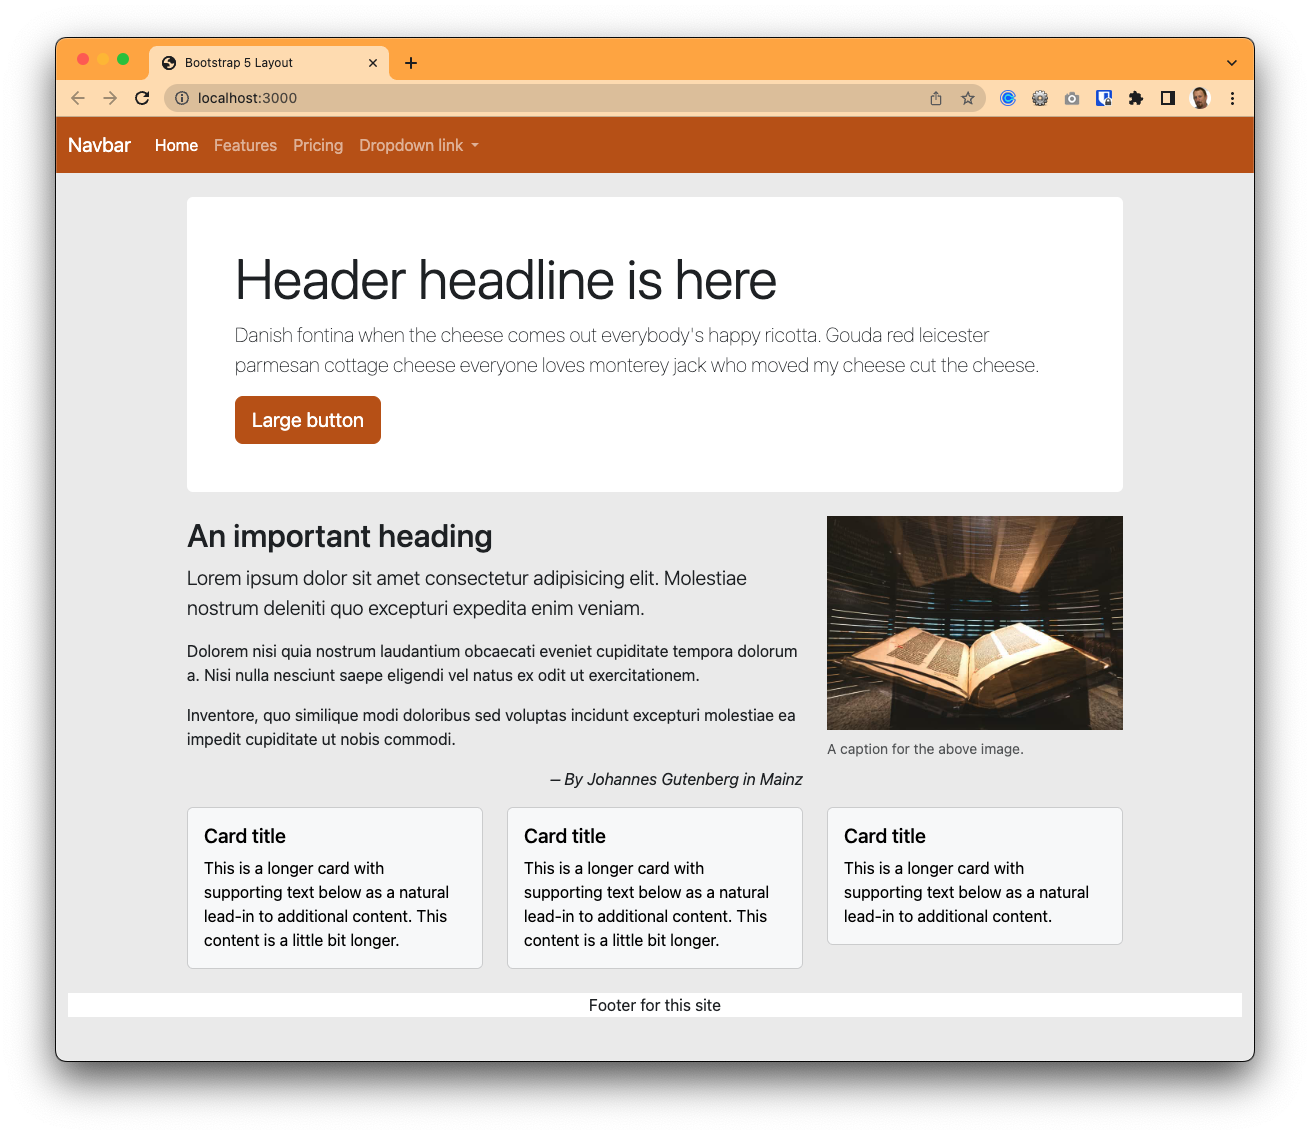
21.7 And we’re done, almost
We are done with our site and it should look like this: